Getting Started
This document will cover how to get started with using Bernard.
Inviting Bernard To Your Server
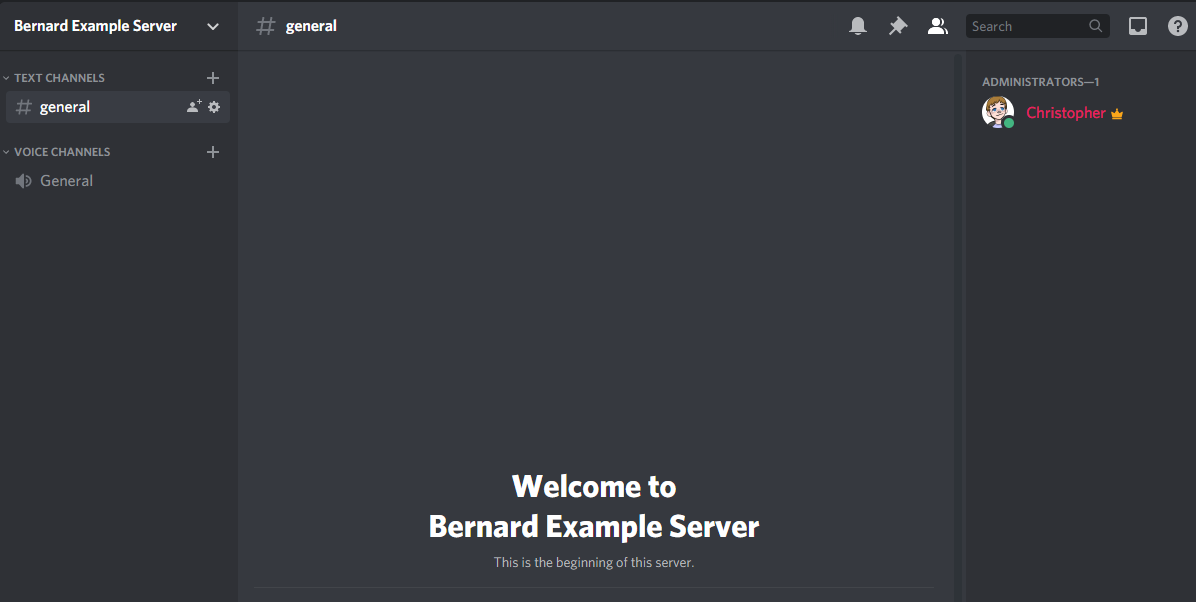
First, you will need to select which server you would like to invite Bernard to. Select your server from the dropdown menu as shown below.

Next, you will be asked to specify what permissions Bernard needs within your server. An example of this prompt is shown below.
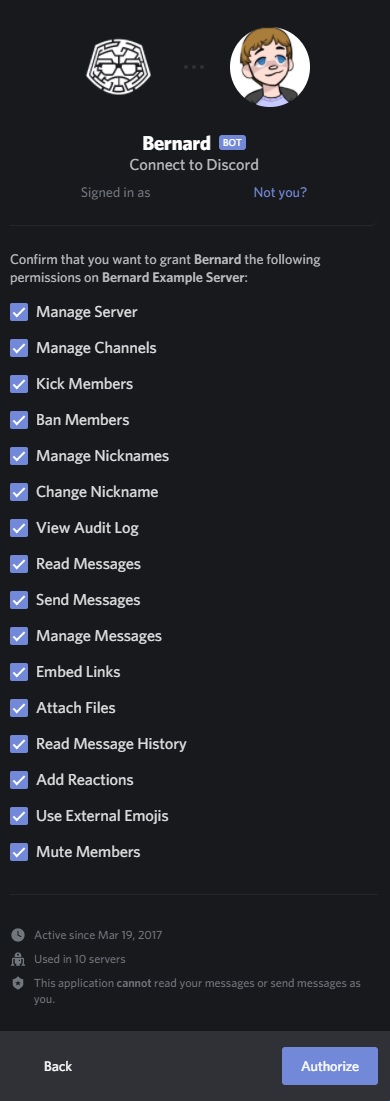
An explanation of the required permissions and why each one is needed is documented in the Permissions section of the documentation.
Note
Denying Bernard one of the above permissions may prevent some features from working as expected!
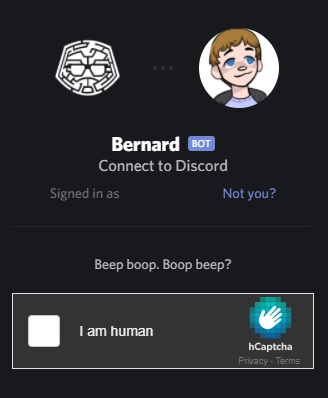
Complete the captcha verification to finish inviting Bernard to your server.
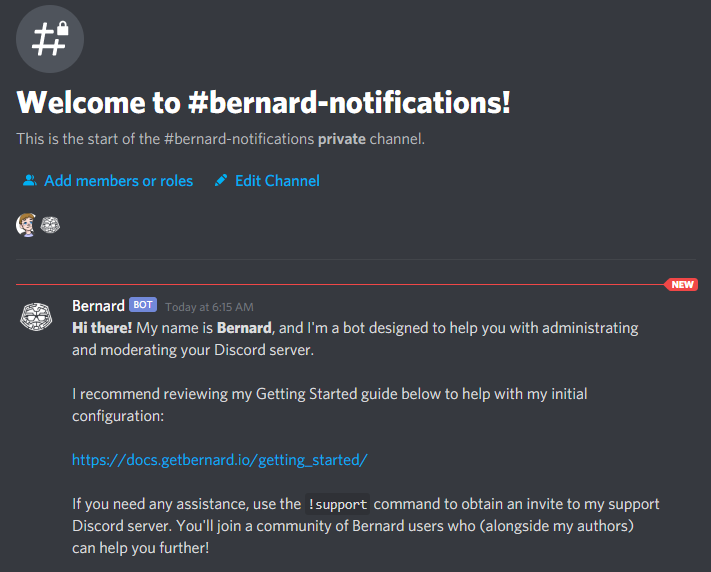
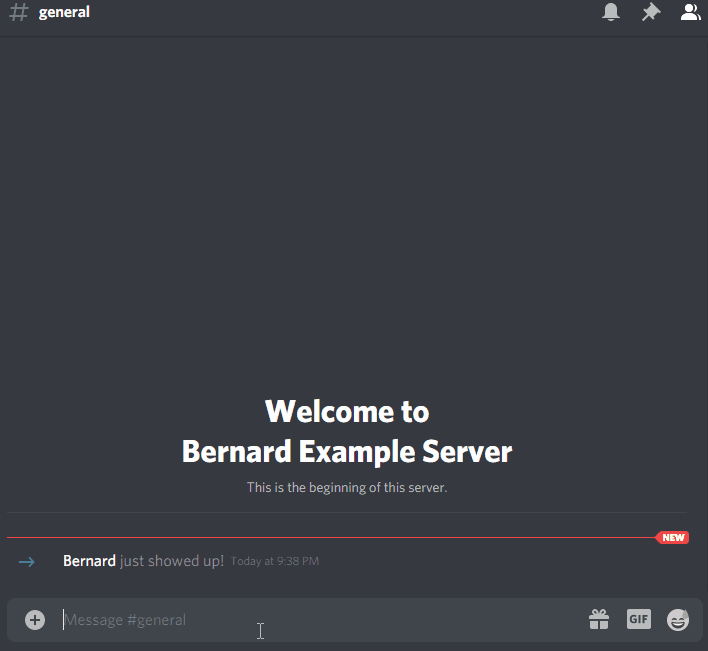
After inviting Bernard to your server, Bernard will automatically create a new category of text channels called "bernard-channels". Within this category, a new channel named "bernard-notifications" will be created that is visible to Bernard, the server owner, and all current roles with Administrator privileges (if applicable).
By default, all OmniLog events (such as a member joining or leaving the server, a message being deleted or edited, etc.) will be recorded in this channel. OmniLog event routing can be changed to more specific commands with the !omnilogs channel suite of commands. Bernard will introduce itself within the #bernard-notification channel, as shown below.
Configure Roles In Your Discord Server
Generally, you will want to formally define the moderation structure of your server prior to modifying or creating roles. The reasoning and process behind this are documented in the Server Moderation Structure Best Practices document.
The steps below will create three new roles in a fresh Discord server. Each role will have a name corresponding with the Four-Tier Moderation Structure.
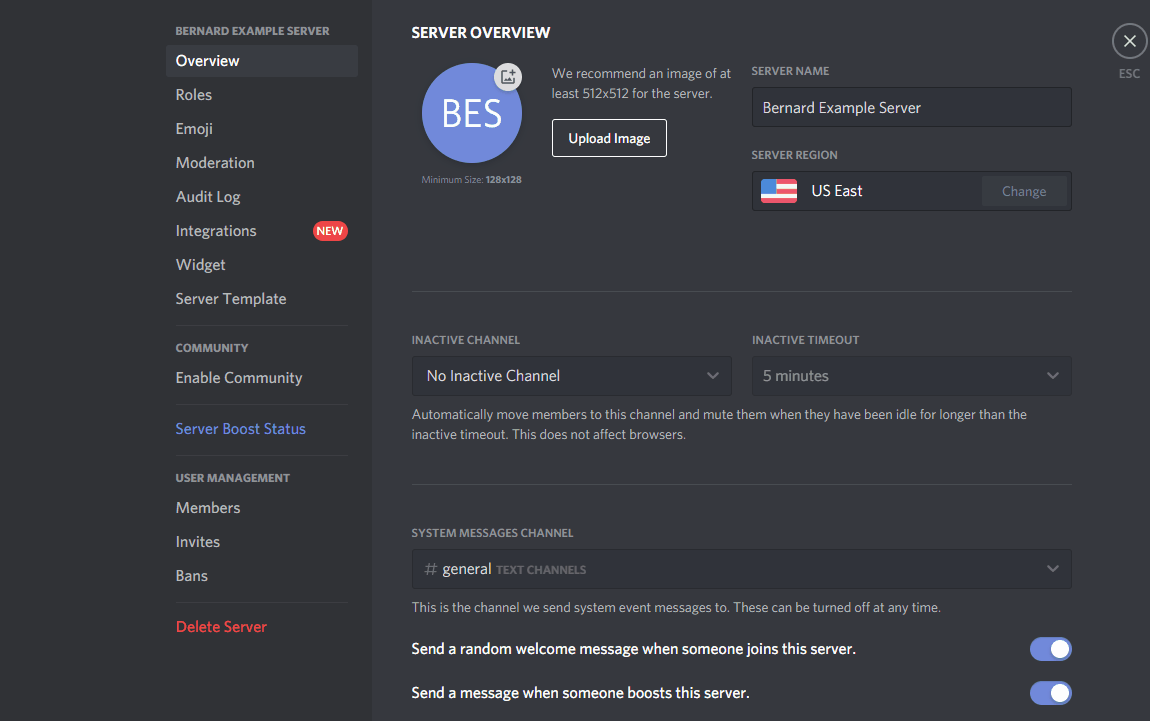
Step 1: Within your Discord server, left-click on the server's name near the upper-left corner of the Discord application. From the drop-down menu that appears, select the Server Settings option.
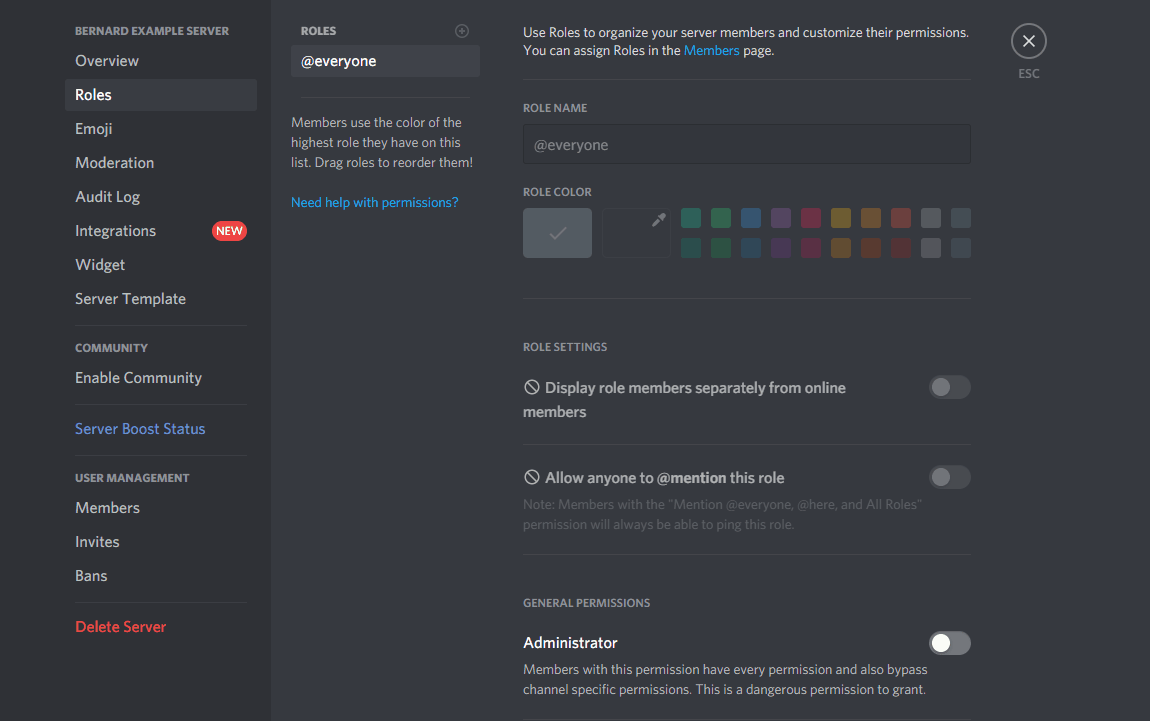
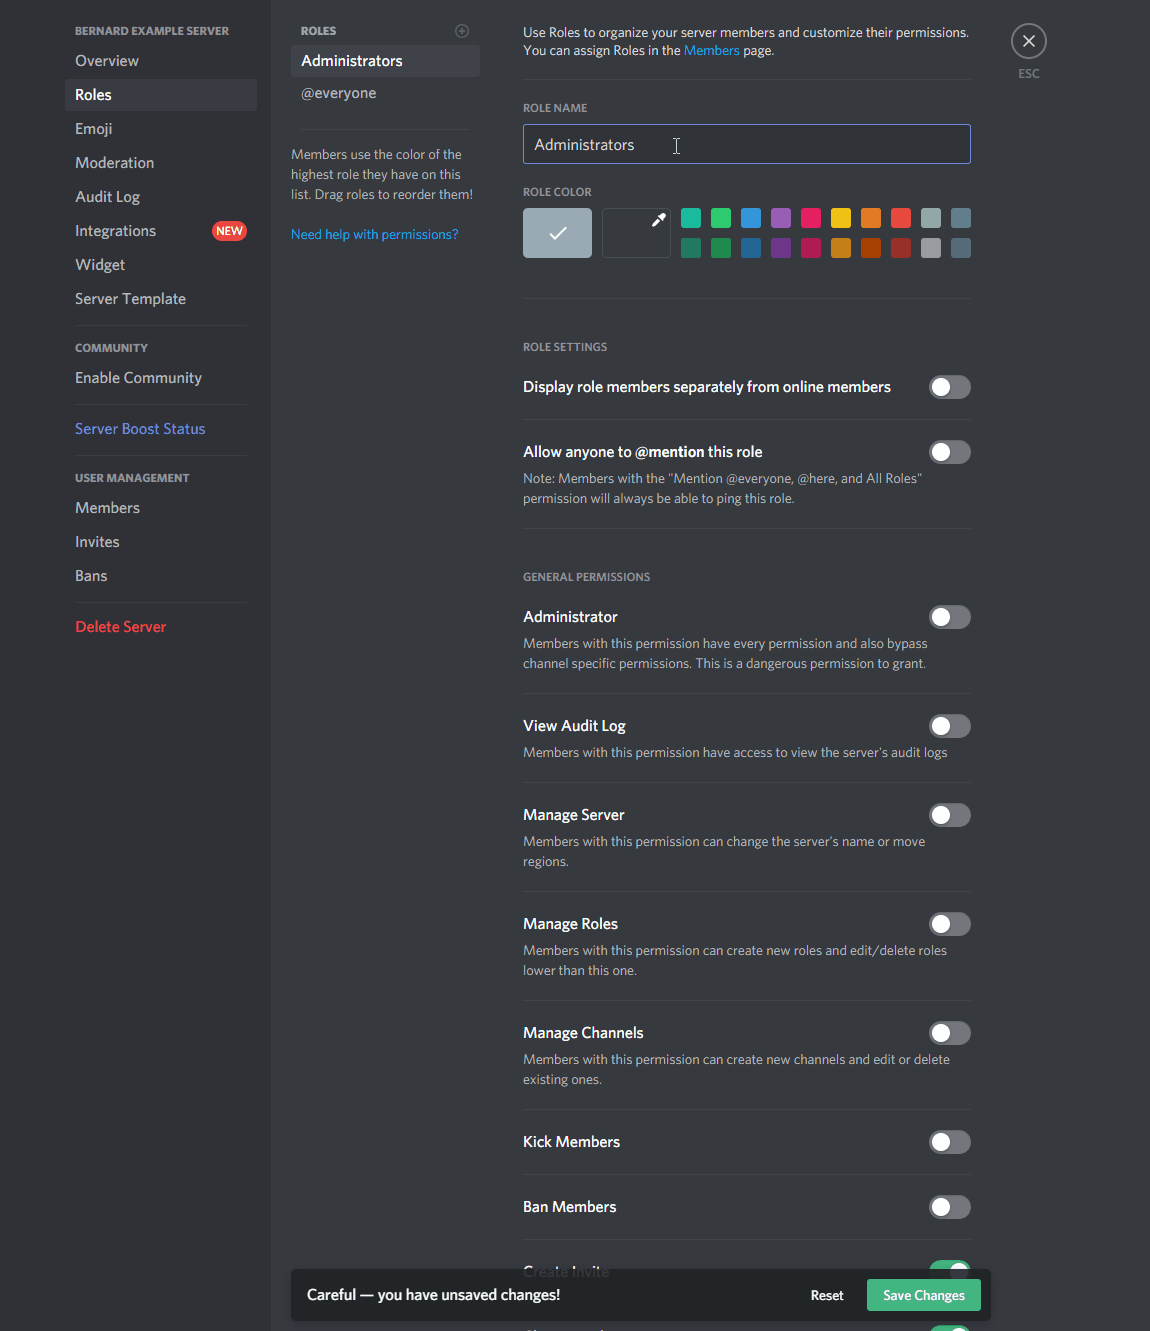
Step 2: Click the Roles tab on the left-hand side of the server settings menu.
In the upper-left corner of the menu that appears, there is a list of roles in the server. The example above shows a role named @everyone - this is known as the "default role", which is the role that all members possess when they first enter the server. This list of roles forms a top-to-bottom hierarchy. Roles towards the bottom of the hierarchy cannot punish (kick, ban, etc.) roles at the top of the hierarchy. We recommend reviewing Discord's Role Management 101 article for more information about the role hierarchy in Discord and how it relates to punishments.
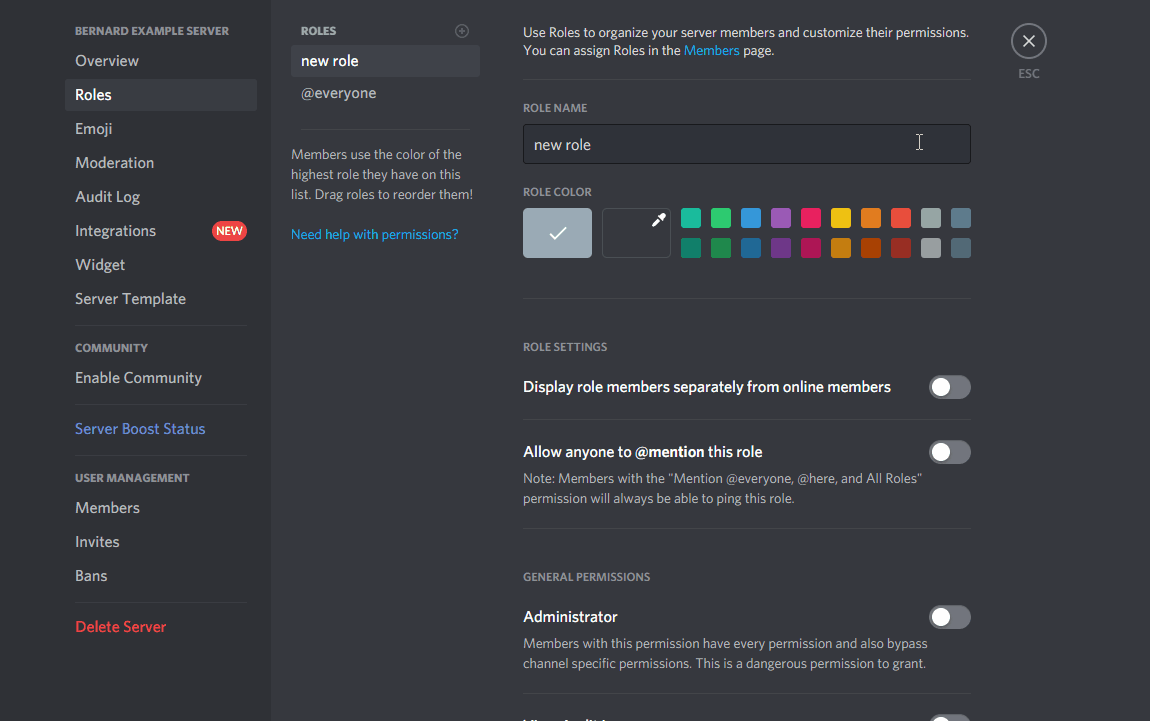
Step 3: Add a new role to the server by clicking the "+" icon above the list of roles. Observe how a role named "new role" is added to the list.
Step 4: Rename the new role in the server by modifying the "Role Name" field to your desired name. The example below renames this new role to "Administrators".
Step 5: Save changes made to your Discord server by clicking the green "Save Changes" button at the bottom of the window.
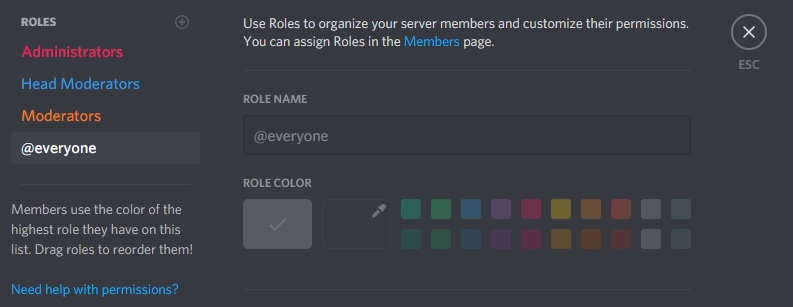
Step 6: Repeat Steps 3 through 5 to create two additional roles - "Head Moderators" and "Moderators". Verify that they appear in the role hierarchy as shown below by dragging them within the list such that Administrators, Head Moderators, and Moderators are present from top-to-bottom.
Assign Administrative Capabilities To Roles
Once your administrative roles and hierarchy are defined and created, you must assign each role administrative capabilities through Bernard. This will allow roles to run specific commands within your server. The administrative capabilities that match with each tier's responsibilities are documented below.
| Tier Name | Administrative Capabilities |
|---|---|
| Administrators | N/A (Role has Administrator permissions in server) |
| Head Moderators | PERMA_BAN_MEMBERS, TEMP_BAN_MEMBERS, PERMA_UNBAN_MEMBERS, TEMP_UNBAN_MEMBERS, KICK_MEMBERS, WARN_MEMBERS, ROLE_VIEW, INVITE_BAN_MEMBERS, INVITE_PROTECT, TEMP_MUTE_MEMBERS, PERMA_MUTE_MEMBERS, TEMP_UNMUTE_MEMBERS, PERMA_UNMUTE_MEMBERS, VIEW_MY_RAPSHEET, VIEW_OTHER_RAPSHEET |
| Moderators | PERMA_BAN_MEMBERS, TEMP_BAN_MEMBERS, PERMA_UNBAN_MEMBERS, TEMP_UNBAN_MEMBERS, KICK_MEMBERS, WARN_MEMBERS, ROLE_VIEW, INVITE_BAN_MEMBERS, TEMP_MUTE_MEMBERS, PERMA_MUTE_MEMBERS, TEMP_UNMUTE_MEMBERS, PERMA_UNMUTE_MEMBERS, VIEW_MY_RAPSHEET, VIEW_OTHER_RAPSHEET |
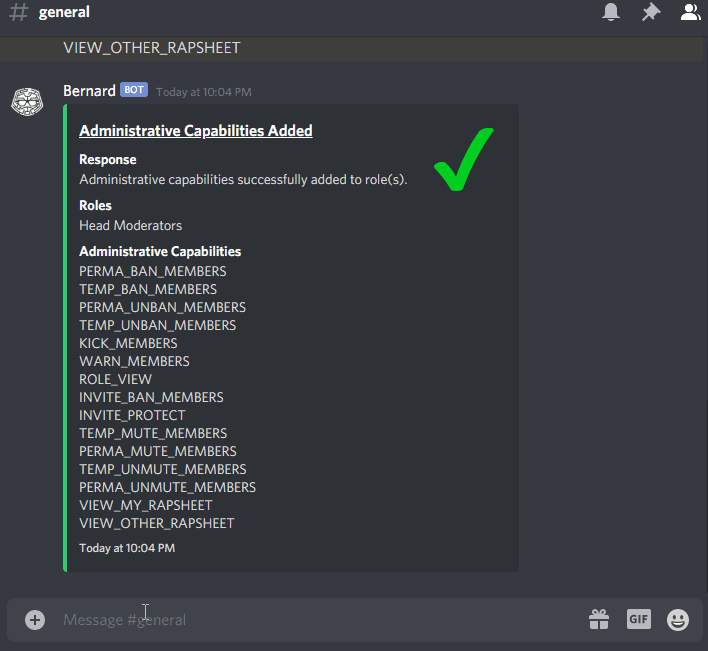
The following set of commands will assign these administrative capabilities to the above roles where necessary:
- For the Head Moderators role:
!role capability add @Head Moderators PERMA_BAN_MEMBERS TEMP_BAN_MEMBERS PERMA_UNBAN_MEMBERS TEMP_UNBAN_MEMBERS KICK_MEMBERS WARN_MEMBERS ROLE_VIEW INVITE_BAN_MEMBERS INVITE_PROTECT TEMP_MUTE_MEMBERS PERMA_MUTE_MEMBERS TEMP_UNMUTE_MEMBERS PERMA_UNMUTE_MEMBERS VIEW_MY_RAPSHEET VIEW_OTHER_RAPSHEET
- For the Moderators role:
!role capability add @Moderators PERMA_BAN_MEMBERS TEMP_BAN_MEMBERS PERMA_UNBAN_MEMBERS TEMP_UNBAN_MEMBERS KICK_MEMBERS WARN_MEMBERS ROLE_VIEW INVITE_BAN_MEMBERS TEMP_MUTE_MEMBERS PERMA_MUTE_MEMBERS TEMP_UNMUTE_MEMBERS PERMA_UNMUTE_MEMBERS VIEW_MY_RAPSHEET VIEW_OTHER_RAPSHEET
As each command is executed, Bernard will confirm whether the administrative capability was successfully associated with the role.
Once all commands are executed, you can use the !role capability list command to display all administrative capabilities associated with all roles.
Configure AutoMod
Bernard's AutoMod suite is a set of different features that help automatically moderate behavior within your Discord server. Most servers will greatly benefit from Bernard's default AutoMod settings, which are fine-tuned to catch and remove most offensive content (such as slurs) while allowing content that can be aggressive, but not necessarily offensive (such as profanity). However, Bernard's AutoMod is very versatile and configurable to meet your server's needs.
Configure AutoMod Text Filters
Detailed information about how Bernard's AutoMod Text Filters feature works can be found here. However, you do not need in-depth knowledge about how the system works to start using it - in fact, Bernard is designed to minimize the amount of configuration needed for AutoMod to function in most servers.
To get started with AutoMod's Text Filters, you'll need to follow the steps eblow.
View Filter Categories & Filters
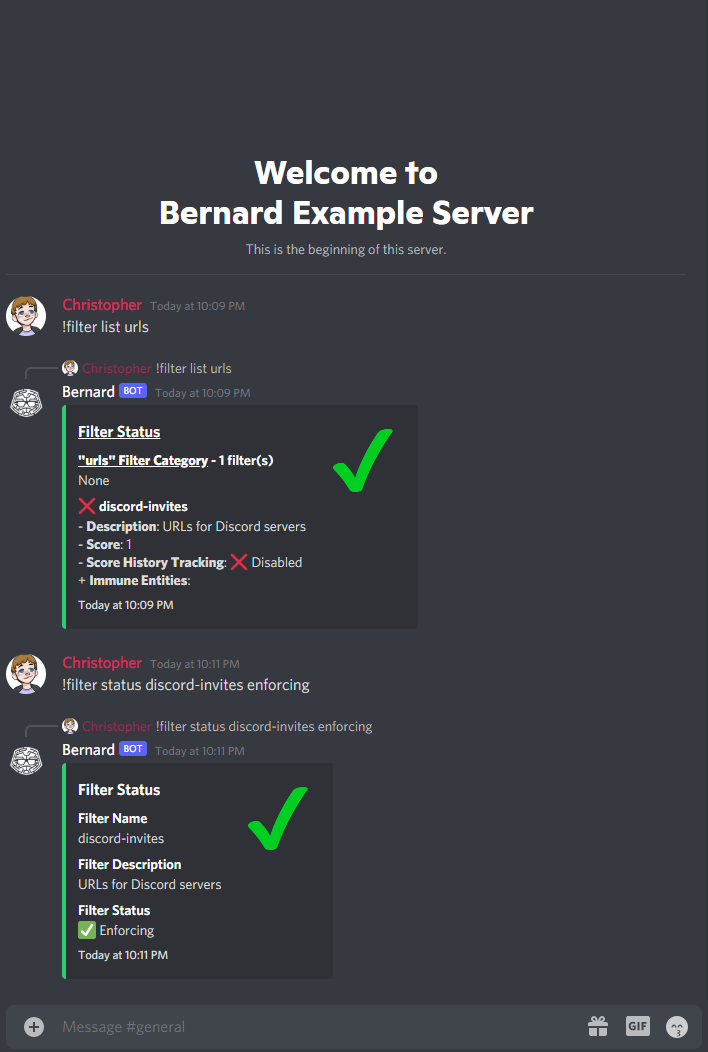
When first working with text filters in a brand new server, it's best to get familiar with the default filter categories and filters. You can view a list of default filter categories with the !category list command.
You can view all filters within all filter categories using the /configuration automod show_filters slash command.
/configuration automod show_filters
To refine this output to just a list of filters within a specific filter category, you can specify the category name as an argument. An example is shown below, where the filters in the "urls" filter category are displayed.
/configuration automod show_filters urls
Change Filter Status
You can change the status of a specific filter using the /configuration automod filter_edit slash command. This opens a filter editor where you can use the Status dropdown to change between "Enforcing", "Permissive", or "Disabled" statuses.
/configuration automod filter_edit discord-invites

An example of how to disable a filter is shown below, where the "discord-invites" filter is set to a "Disabled" status using the Status dropdown in the filter editor.
Add Filter Category & Filter Immune Entities
Oftentimes, you may not want certain individuals or roles (generally referred to as "entities") to be punished if they violate Bernard's AutoMod. For example, maybe you want your moderation team to be able to use slurs or profanity so they can politely discuss the usage of that language within an internal moderation channel. You may also want to allow trusted members of your community to post invite links to other Discord servers.
You can use the !category immune add <category_name> [targets] command to make specific entities immune to a filter category. For individual filters, use the /configuration automod filter_edit slash command to open the filter editor, then use the "Add Immune Role" or "Add Immune User" buttons to add immunity. An example is shown below, where the "Community" role would be made immune to the "discord-invites" filter:
/configuration automod filter_edit discord-invites
Then click "Add Immune Role" and select the "Community" role.
A similar example for the entire "urls" filter category can be found below using the category command:
!category immune add urls @Community
Note
The !category immune add and !category immune remove commands are simply macros that apply immunity to all filters within a filter category. Immune entities are tracked on a per-filter basis. This means that if a new default filter is added to a default filter category, immune entities for the filter category will not be carried over to the new filter. Keep up-to-date with Bernard's changelog and Default Filters documentation to become aware of new default filters added over time so that you can update your server's configuration accordingly.
Tune Filter Scores
A lot of thought and tuning has gone into Bernard's default filter scores. However, we recognize that not all Discord communities are identical - the vulgarity of a word or phrase may be different in one server compared to another. For that reason, you can modify the score of a filter using the /configuration automod filter_edit slash command. This opens a filter editor where you can use the Score dropdown to change the filter's score.
/configuration automod filter_edit discord-invites
Then use the Score dropdown to set the desired score value (e.g., 50).
Note
If you would like to block a specific word or phrase in your server, but do not necessarily want the user to be punished for using that phrase, change the filter score to be 1. Make sure to also disable score history tracking using the Track History dropdown in the filter editor!
Configure AutoMod Video Analysis
Bernard will automatically analyze video attachments, embeds, and Tenor GIFs (collectively referred to as a "video") for malicious content. Specifically, Bernard can detect whether a video has the potential to crash one's Discord client with extremely high accuracy and speed.
By default, Bernard will automatically delete a video that contains malicious content. This feature is enabled by default when Bernard joins a server - no specific configuration is needed for Bernard to take action on videos containing malicious content.
However, you may want to configure Bernard to automatically ban a user who posts a video with malicious content. The length of the ban can be configured with the !automod files crash punishment <duration> command. An example of this is shown below, where a 30-day ban is placed on a user who posts a video with malicious content.
!automod files crash punishment 30d
If you would like to disable AutoMod video analysis in your server, you can do this with the !automod files crash status <new_status> command. An example is shown below, where AutoMod video analysis is disabled.
!automod files crash status disable
An example of how to re-enable this feature in a server is shown below.
!automod files crash status enable
If you find a video that crashes Discord that Bernard did not detect and delete, please let us know! Join Bernard's Support Discord server and post the video in the "filter-submissions" channel.
Configure Flavor Text
Coming soon!